Have you ever thought about why composting at home is so popular? It’s a way to turn kitchen scraps and yard waste into a fertilizer that helps your garden and the planet. This method is not just a trend but a green way to recycle organic waste.
Starting to compost at home is easy and good for the planet. It cuts down on landfill waste and supports sustainable living. With some simple tips, you can begin composting right away, even if you have little space or knowledge. This guide will show you how easy it is to make compost at home. You’ll learn to turn waste into a valuable resource for your plants.
Key Takeaways
- Balance brown materials like branches with green materials such as food scraps for effective composting.
- Maintain compost temperatures between 140 and 160 degrees Fahrenheit for optimal microbial activity.
- Tumbler composting may yield lower quality compost due to limited microbial action.
- Regular maintenance of your compost tumbler is essential for success.
- Close proximity of your compost bin to your garden makes compost transfer convenient.
- Explore various composting methods, including city programs and DIY bins, to suit your needs.
Introduction to Composting
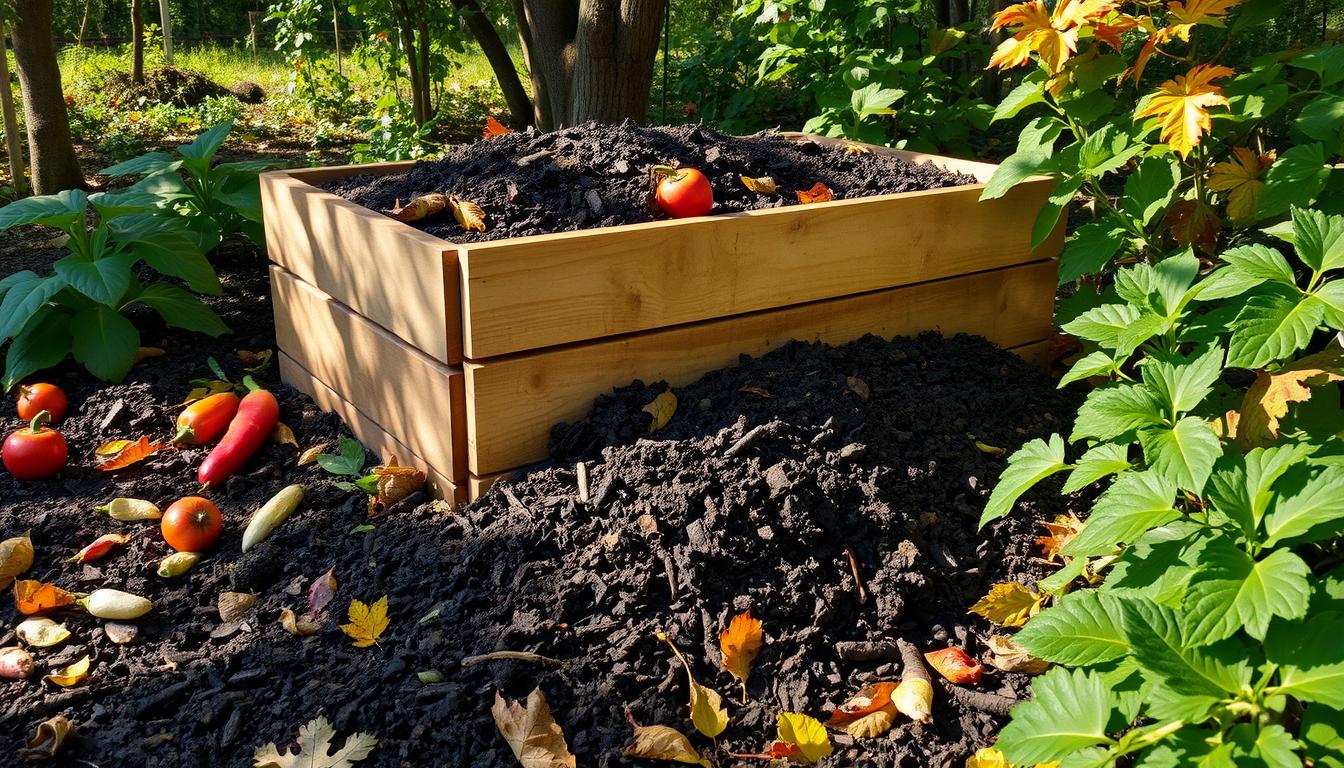
Composting turns organic waste into nutrient-rich soil that helps plants grow strong. It’s great for both beginners in backyard composting and those looking into kitchen composting. Composting cuts down on waste and supports gardening by giving nutrients back to the earth.
Starting a compost pile is easy, even with limited space. Aim for a pile size of 3 to 5 cubic feet. This size is perfect for keeping the pile hot, which is key for breaking down waste.
For composting to work well, mix carbon-rich brown materials with nitrogen-rich green ones. Aim for a mix where brown materials might even be three times as much as green ones. This mix helps break down waste quickly, ready in about three months if you keep it up.
To improve your compost, turn the pile every three to four weeks. This adds oxygen and keeps the temperature hot, helping waste break down faster. By composting, you’re helping the environment and cutting down on harmful gases from landfills.
Benefits of Composting at Home
Composting at home has many benefits for your garden and the environment. It helps reduce waste and makes your garden more productive. Starting to compost is a great step for anyone.
Reduce Landfill Waste
Composting helps cut down on landfill waste. In the U.S., over 28 percent of waste is food scraps and garden waste. By composting, you can lower this number and help the planet.
The cost to send waste to landfills is about $55 per ton. Composting keeps organic materials out of landfills and saves money on disposal fees.
Improve Soil Health
Composting also makes soil healthier. It adds important nutrients and helps soil hold more moisture. Just 1 percent more organic matter in soil can hold an extra 20,000 gallons of water per acre.
This means better soil for plants, leading to gardens that grow more and better.
Save Money on Fertilizers
Composting can save you money on fertilizers. The average family throws away about $150 worth of food each month. This food can become valuable compost.
By making your own compost, you use less commercial fertilizers. This cuts down on costs and boosts your garden’s health.
Getting Started with Composting
Starting to compost at home needs careful planning and organization. Choose the composting method that fits your life, like an outdoor bin, tumbler, or indoor setup. Think about the space you have to decide.
First, gather the right materials for composting. You’ll need green materials high in nitrogen and brown materials high in carbon. Aim for a 2:1 ratio of browns to greens. Browns include dried leaves and cardboard, while greens are kitchen scraps like vegetable peels and fruit cores.
After picking your composting method, make sure your bin gets at least three to four hours of sunlight daily. Your bin should have two sides open for air flow. This helps with the microbes that break down the materials. A bin of at least 1 cubic yard size works best.
- Check moisture levels and water your compost once a week.
- Turn your compost pile every month to keep it aerated.
- Remember, it takes four to six months for the start of decomposition. Fully finished compost takes about eight to twelve months.
Starting composting might seem hard, but with these tips, it gets easier and more rewarding. Your efforts help reduce landfill waste and improve soil health in your garden.
How to Compost at Home
Composting at home is rewarding. It helps you manage organic waste effectively. You can pick from various composting methods based on your space and needs. Choosing the right spot for your compost is also key to success.
Choosing the Right Method
When choosing the right composting method, think about your space and how fast you want results. Hot composting works well for quick results, breaking down materials in six to eight weeks. For a slower process, cold composting is good, taking a year or more. Here are some common methods:
- Hot composting: Needs a mix of green and brown materials for high temperatures.
- Cold composting: Adds materials without much effort or turning.
- Vermicomposting: Uses worms to break down waste indoors, great for small spaces.
- Sheet composting: Layers materials on the ground for composting.
- Trench composting: Buries waste in trenches or holes in garden beds.
Selecting a Suitable Location
Finding the right spot for composting is crucial. Pick a place away from buildings and fences to avoid pests. It should be easy to get to and have good air flow. Consider these factors:
- Adequate sunlight: Sunlight helps speed up composting.
- Drainage: Good drainage stops moisture buildup that slows down composting.
- Space: Make sure there’s enough room for regular maintenance and turning.
Types of Composting Methods
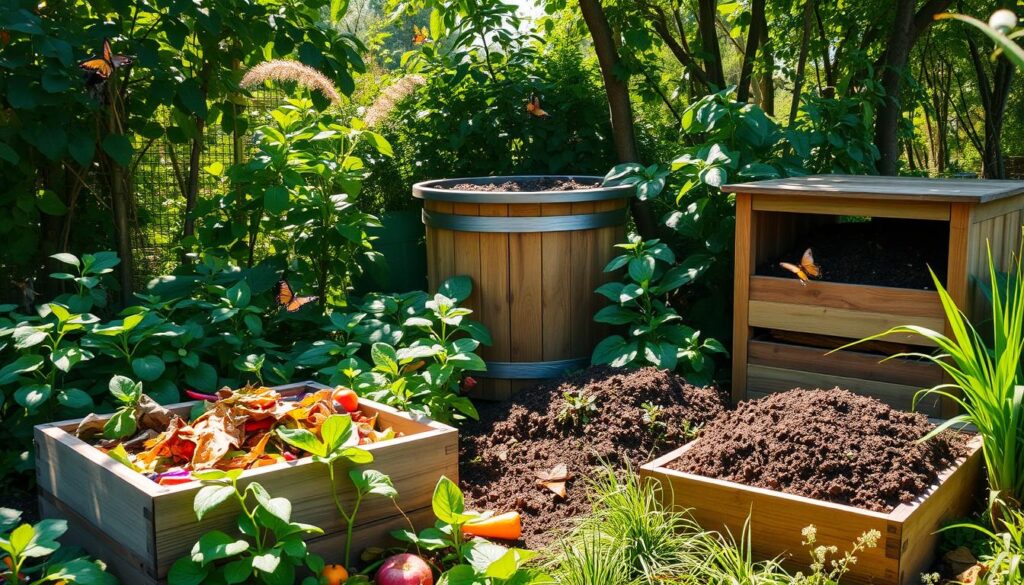
Exploring composting, you’ll find many methods for different needs and spaces. Each method has its own benefits, letting you pick the best one for your life and goals. From big outdoor bins to indoor options like vermicomposting, these methods can make composting better.
Outdoor Composting Bins
Outdoor bins are great for garden lovers with lots of space. They can take in a lot of organic stuff, helping it break down well. Here are some popular types:
- Aerobic composting: Needs oxygen and breaks down fast.
- Aerated static pile composting: Mixes stuff into a big pile for natural air.
- Windrow composting: Makes tall piles that get turned to keep them moist and airy.
- Trench composting: Buries waste in a trench for nature to break it down.
Tumbling Composters
Tumbling composters are a hit for easy compost management. They let you turn the bin to mix and speed up the process. The turning mixes everything well and lets in oxygen, helping compost faster. It’s good for smaller amounts and can work with outdoor methods too.
Indoor Composting Options
If you’re short on space, indoor composting is a smart choice. Vermicomposting uses worms to turn food scraps into compost. It’s great because:
- It doesn’t smell much.
- It quickly processes kitchen waste.
- It’s good for small amounts of scraps.
Bokashi composting is another indoor option that ferments waste in a sealed container. It’s perfect for those who want to cut down on smells. These indoor methods let you compost even in small spaces, making rich compost for your plants.
Compost Bin Setup
Setting up a compost bin is a key step in composting. The right bin setup helps turn organic waste into rich compost. You can pick from pre-made bins or make your own with DIY methods. Picking the right bin is key for great results.
Choosing the Right Compost Bin
Look at size, durability, and airflow when picking a bin. A 30-gallon plastic bin is a good size for home use. Make sure it has good airflow by adding 8-10 small holes in the bottom and lid. This helps with the composting process.
- Size: Bigger bins hold more, but smaller ones are easier to handle.
- Durability: Choose bins made from strong materials to last outside.
- Airflow: Good airflow helps break down materials faster.
DIY Compost Bin Options
Building a DIY compost bin can be fun. You can use wooden pallets or plastic tubs for your bin. A homemade bin lets you customize it for your space. Make sure it has the right size and airflow like other bins.
Here’s what to remember for your DIY bin:
- Pick a spot that drains well and is easy to get to.
- Use green and brown materials together for a balanced compost pile.
- Turn your compost every few weeks to help it break down faster.
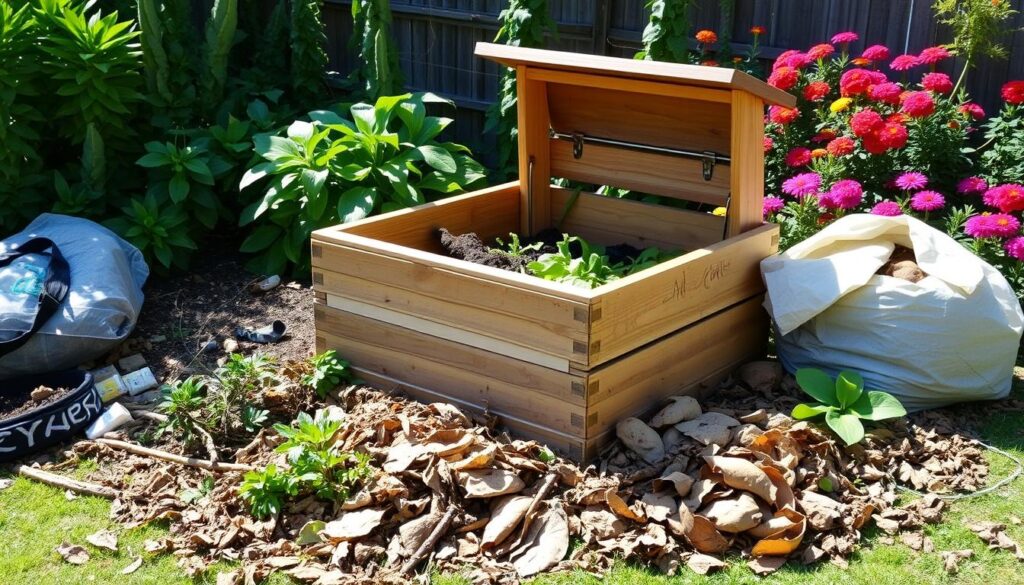
Think about your options and set up an effective compost bin. This way, you’ll get the perks of composting and help your garden and the planet.
Understanding Composting Materials
Composting starts with knowing the different materials you can use. There are green and brown materials. Mixing these in the right way helps break down waste and makes good compost.
Green Materials for Composting
Green materials are full of nitrogen and are key to composting. They make up about half of your compost pile. Here are some common ones:
- Fruit and vegetable scraps
- Coffee grounds
- Grass clippings
- Eggshells
These items have a mix of carbon and nitrogen that’s good for microbes. These microbes help break down the compost quickly.
Brown Materials for Composting
Brown materials are high in carbon and make up the other half of your pile. They add structure and air to the compost. Here are some examples:
- Dry leaves
- Straw
- Pine needles
- Shredded paper and cardboard
These items have a lot of carbon and help balance the compost. Mixing green and brown materials right speeds up composting.
| Composting Material Type | Examples | C:N Ratio |
|---|---|---|
| Green Materials | Fruit scraps, coffee grounds, grass clippings | Approx. 10:1 |
| Brown Materials | Dry leaves, straw, shredded paper | Approx. 30:1 |
Maintaining Your Compost Heap
Keeping your compost heap in top shape is key for good decomposition and quality compost. Important practices include checking the temperature, aerating, and adjusting moisture. These steps keep your compost rich in nutrients and ready for your garden.
Monitoring Temperature
It’s important to watch the temperature of your compost. Aim for a range of 140-160 degrees Fahrenheit for best results. This heat helps break down materials fast, making it a good home for helpful microbes. If the temperature is low, it might mean not enough air or an unbalanced mix of materials.
Aerating the Compost
Aerating your compost boosts airflow, which is crucial for aerobic bacteria to work well. Turn the compost pile regularly to mix ‘greens’ and ‘browns’ evenly. This keeps smells away and supports a healthy compost environment. Use a pitchfork or shovel every couple of weeks to keep it aerated.
Adding Moisture as Needed
Getting the moisture right is key in composting. Your compost should feel like a damp sponge, not dripping wet. Add water if it seems dry, but avoid making it too wet. This can cause bad smells and slow down the process. Look for dry materials like fallen leaves and mix them in if your compost is too wet.
| Practice | Recommended Frequency | Notes |
|---|---|---|
| Monitor Temperature | Weekly | Keep between 140-160°F for optimal decomposition. |
| Aerate Compost | Every 2 weeks | Use a pitchfork to turn the compost pile. |
| Add Moisture | As needed | Aim for a damp sponge-like consistency. |
Common Composting Mistakes to Avoid
Starting to compost can be rewarding, but many beginners face issues that slow their progress. Knowing these common mistakes early can greatly improve your compost’s quality.
One big mistake is not mixing the right amount of materials. Aim for three parts brown (high-carbon) to one part green (high-nitrogen) materials. If you don’t balance this, you might end up with a smelly pile that doesn’t break down well.
Adding animal-based food scraps like meat, seafood, or dairy is another error. These can make your compost smell bad and attract pests. It’s important to check on your compost often. Aeration once a week helps with decomposition and keeps the temperature right, between 141°F to 155°F.
“Finished compost should have an earthy smell, be dark and crumbly, and should no longer contain recognizable food wastes.”
Many new composters forget to use a compost starter or add garden soil to start microbial activity. Covering your compost pile helps keep it warm, especially in the cold. This keeps the decomposition process going well.
By avoiding these mistakes, you’ll make composting easier and more effective. Understanding and fixing these errors will help you succeed in composting.
Tips for Successful Composting
Creating great compost needs focus and a balanced method. It’s key to know how to layer your materials and use compost starters. These steps help your composting work well, making nutrient-rich soil for your garden.
Layering Your Materials
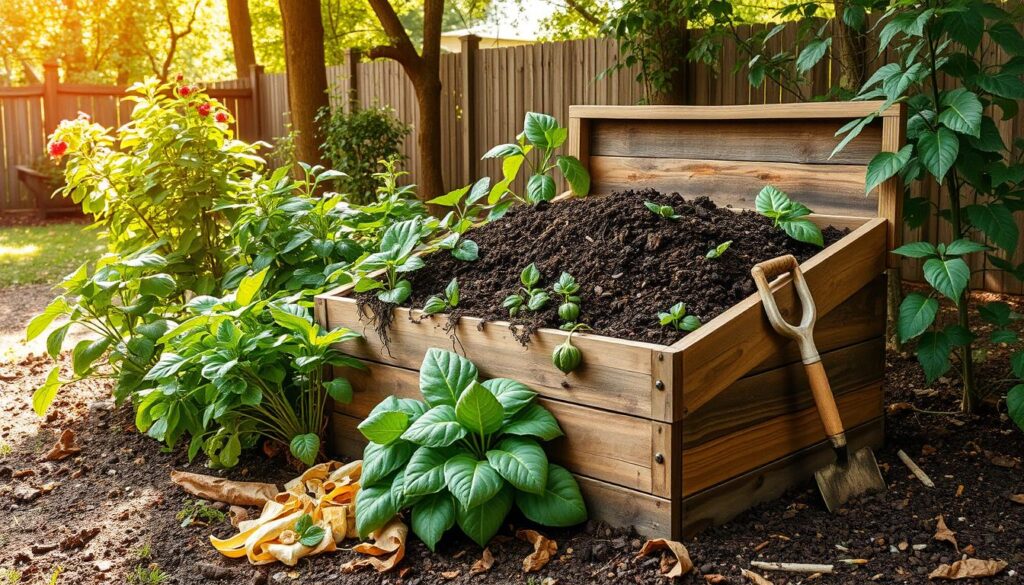
Think of layering compost like making a tasty lasagna. Mix “greens” (rich in nitrogen) with “browns” (high in carbon). Here are some good layering mixes:
- Grass clippings (green)
- Dry leaves (brown)
- Fruit scraps (green)
- Shredded newspaper (brown)
This method helps with airflow and keeping moisture in, speeding up the breakdown. It’s important to keep a mix of these materials. A good compost pile has an equal mix of nitrogen and carbon.
Using Compost Starters
Adding compost starters can make composting faster. These starters have good microorganisms that start the composting process. Choose natural ones like:
- Worm castings
- Dried molasses
- Store-bought compost activators
These help with the microorganisms in your pile, making composting work better. For good composting, mix layering with compost starters well.
| Layer Type | Examples | Benefits |
|---|---|---|
| Greens | Grass clippings, vegetable scraps | High in nitrogen, promotes rapid decomposition |
| Browns | Dry leaves, shredded paper | Rich in carbon, helps maintain structure |
| Compost Starters | Worm castings, commercial activators | Boosts microbial activity, accelerates breakdown |
When is Your Compost Ready?
Knowing when your compost is ready can really boost your gardening. It’s key to spot the signs that show it’s done. This lets you use your hard work in recycling organic waste effectively. Patience and careful watching are important to get the right compost.
Signs of Finished Compost
There are clear signs that tell you when compost is ready. Look for these:
- A rich, dark brown color
- An earthy smell reminiscent of soil
- A crumbly texture that falls apart easily
If it smells sweet and earthy, it’s ready for your garden. Even if you see bits like sticks or straw, it could still be good. Compost can be ready in a few months to a few years, depending on many factors.
How to Test Your Compost
Testing your compost can confirm it’s ready for the garden. A simple way is to plant seeds in it. Watch for these signs:
- Germination within a few days
- The health and color of the sprouts
Planting radish seeds in unsure compost showed quick growth and healthy leaves. This proves your compost is good, even if it doesn’t look perfect.
| Indicator | Description |
|---|---|
| Aroma | Earthy smell indicates readiness |
| Color | Dark brown means it’s mature |
| Texture | Crumbly consistency that crumbles easily |
| Seed Test | Rapid germination and healthy leaves |
Trust your senses and test results to know when your compost is ready. Using it in your garden in the fall ensures your plants get the best nutrients.
Using Compost for Your Garden
Adding compost to your garden has big benefits, especially for soil fertility. It makes plants healthier and more productive. By using different compost methods, you can make your garden better.
Application Techniques
There are many ways to use compost in your garden. Here are some effective methods:
- Mixing into Garden Beds: Add compost to the top of the soil to make it richer and better at draining.
- Top Dressing: Put compost on top of plants to help the soil and feed them.
- Compost Tea: Make compost tea by soaking compost in water. It’s a liquid fertilizer for plants and soil.
Impact on Plant Growth
Compost does more than just add nutrients. It helps plants grow by:
- Improving soil structure for better roots and water.
- Helping good microbes in the soil that make nutrients available and fight diseases.
- Slowly giving out nutrients, so you use less chemical fertilizers.
For the best compost, keep a balance. Aim for three parts brown stuff to one part green stuff when composting. This makes great compost for your garden.
Conclusion
Composting at home is more than a hobby; it’s a way to live sustainably. By following this guide, you can cut down on landfill waste and make your garden richer with compost. Did you know food scraps and yard waste make up over 28% of what we throw away? DIY composting helps reduce this waste, turning trash into fertilizer for your plants.
Composting also improves soil and cuts down on chemical fertilizers, saving you money on gardening. A balanced mix of green and brown materials makes the best compost. Keeping your compost aerated and checking its moisture helps it break down faster, making your hard work pay off.
By composting at home, you’re helping your garden and the planet. It’s a simple step towards a healthier Earth and a sustainable life. Are you ready to start your composting journey?
FAQ
What can I compost at home?
You can compost many organic materials. These include fruit and vegetable peels, coffee grounds, grass clippings, dry leaves, and shredded paper. But, don’t add meats, dairy, oils, or cooked food. These can attract pests and smell bad.
How do I start composting if I live in an apartment?
For apartment dwellers, indoor composting is a good option. You can try vermicomposting with worms or an aerobic composter. These methods are great for recycling kitchen scraps and don’t take up much space.
How long does it take for compost to be ready?
Composting can take a few weeks to several months. It depends on the method, materials, and how well you maintain it. Checking on it regularly and adding air can help it break down faster.
Can I compost yard waste?
Yes, you can add yard waste like grass clippings, leaves, and small branches to your compost. Just mix them with nitrogen-rich materials for a good balance.
How do I know when my compost is ready to use?
Finished compost looks dark brown, crumbly, and smells earthy. It also cools down and isn’t hot anymore. These signs mean it’s ready for your garden.
What are some common mistakes beginners make when composting?
Beginners often add wrong materials (like fats and oils), don’t mix green and brown materials well, forget to turn the compost, or ignore moisture levels. Avoid these mistakes for better composting results.
What tools do I need for composting?
You’ll need a compost bin or pile, a pitchfork or shovel for mixing, and a moisture meter to check water levels. A kitchen compost container is also handy for collecting scraps.
How does composting benefit the environment?
Composting cuts down on landfill waste and reduces greenhouse gases. It also improves soil health and supports sustainable gardening. Using compost as fertilizer lowers the need for chemical fertilizers, making gardening better for the planet.

